


I’m a fan of one of the oldest, classic organizers. I outlined the instructions below, so that you can try yourself. Here’s a few pegboard ideas you can DIY.
Now, I may not need help navigating my modest collection eight pots, pans, and colanders. But as a cooking enthusiast who prefers to master simple homemade meals, I wanted a spot to keep my supplies organized and close at hand.
So I made my pegboard, and guess what? It was easy. Here’s how I did it and how you can use a pegboard to get organized in the kitchen, office, or closet.
- First, measure the space where you want to put the pegboard. I had only one option in my kitchen where a pegboard could fit –a teeny 17-inch-wide enclave. But that’s the beauty of the pegboard: you can make it any size you want. I recommend taking your pots and pans and laying them out on the floor, approximating the size of your soon-to-be pegboard. That way, you’ll make sure all your items will fit (the typical size of a store-bought sheet of pegboard is 2′ x 4′). And if you have an ample wall space to work with, this helps you decide how big of a pegboard you want to build.
- Pick up your supplies. Head to your local home center. Here’s what you’ll need:
- Pegboard: If you need a custom size (which I did), you can have your pegboard sheet cut to size at Home Depot. Or if you have a saw and some DIY skills, have at it and cut your pegboard to size at home.
- Frame pieces: Pick up three pieces of wood for each sheet of pegboard (make sure the pieces are cut to the exact width of the pegboard.)
- Screws: Get long screws to screw the wood frame into your wall and short screws to attach the pegboard to the wood frame.
- Primer: Roll on a coat of primer to create a smooth, even finish that will make your paint adhere better to the pegboard.
- Paint roller frame, roller covers, and paint roller tray: You may want to pick up two roller covers (one for the primer and one for the paint), so you don’t need to clean the cover in the middle of the project. I like to use a sturdy metal tray and then add in biodegradable paint tray liners.
- Paint: I recommend a latex interior paint in a semi-gloss finish. I wanted to use a non-toxic paint, and I found zero-VOC Yolo paint at a local Home Depot.
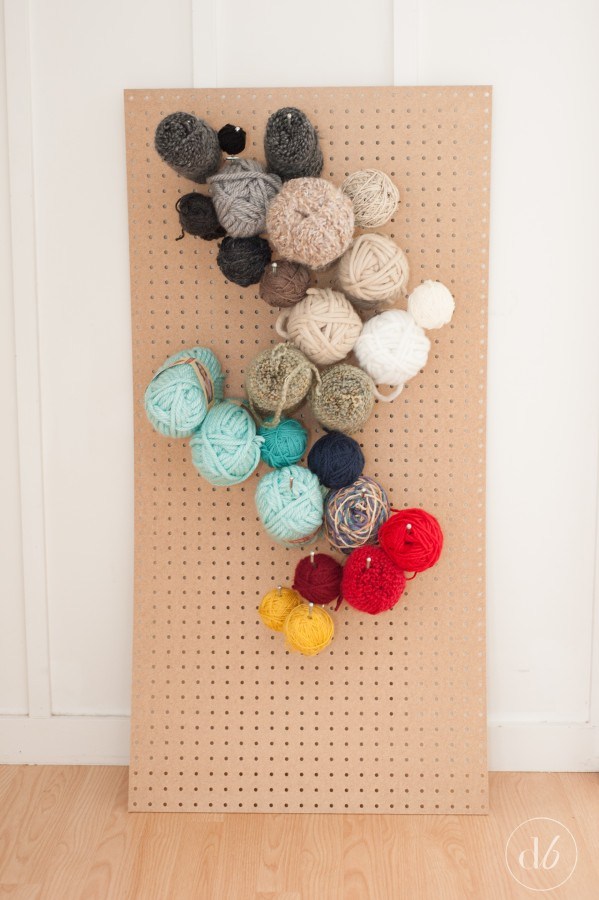
- Pegs: I totally overestimated the number of things I could fit on my pegboard. You’ll only need a couple of packages of pegs. (Don’t stock up on eight packages, like I did!)
- Prime your pegboard. Roll on a thin coat of primer, and let dry.
- Paint your pegboard. Pick any color you like to paint your pegboard. I went with Yolo’s semi-gloss paint in Water 07. I love the color. (And it’s a similar blue to Julia’s amazing pegboard!) Roll on a thin coat of paint. You’ll likely need two coats; allow paint to dry in between coats.
- Mount your frame. With a pencil and a level, mark out where your frame pieces will be hung on your wall. You want one piece on the top (just below the top edge of the pegboard), one on the bottom, and one in the middle. Use a stud finder (or tap on the wall) to locate the studs on your wall. You’ll want to mount at least two pieces of the frame in a stud for security so your pegboard can handle the weight of heavy pots and pans. With a drill or screwdriver, mount the frame pieces using the long screws.
- Mount your pegboard. Once your frame pieces are secured to the wall, attach the pegboard. Line it up so that the pegboard is level and covers the three frame pieces. Screw the pegboard into the frame, using the short screws.
- Hang your pegs and get started organizing. Place your pegs around your pegboard; they’re so easy to pop out and move around. Play around till everything fits where you want it. Unlike ready-made hook racks, a pegboard is completely flexible and easy to change.
DIY Pegboard Ideas & Projects
The most iconic pegboard is certainly Erica Sooter’s pegboard from Dwellbeautiful.com But there’s more than one way to use a pegboard, right? :)
 Erica Sooter’s pegboard from Dwellbeautiful.com
In the kitchen: You can hang up your pots, pans, colanders, strainers, measuring cups — really anything with a hole in the handle will work. Free up counter space and clear your cluttered kitchen drawer by using a pegboard to hang some of your kitchen tools (like the bulky potato masher and those sets of tongs.)

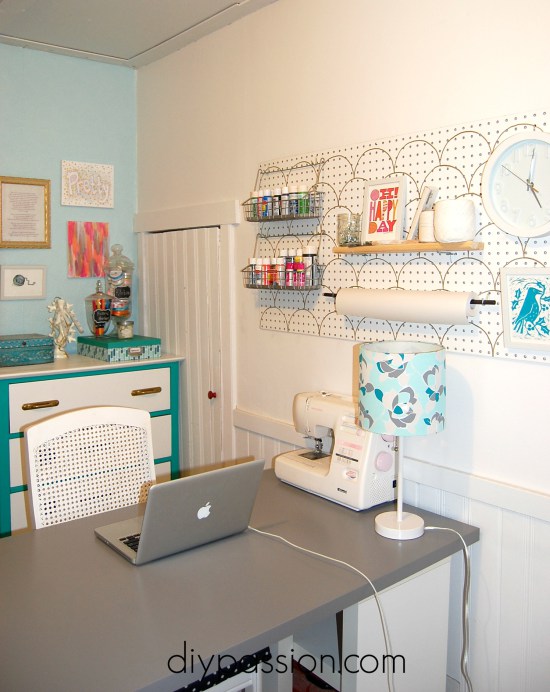 You can adopt this stenciled pegboard to your kitchen by Erin & Dan from Diypassion.com
In the closet: Make better use of the vertical space in your walk-in closet. Hang a pegboard, and you can keep accessories like belts, totes, bags, and scarves in order. Hang up a tote bag or handled basket to store small stuff (here I used a shopping basket with a strap to stash my scarves.)
In the office/workspace: You’ll always know where your scissors are if they have a spot on a pegboard. Creating a pegboard for office and craft supplies is an easy way to keep your tools handy for any projects. You can use handled jars to contain clips, rubber bands, and pens and pencils. Tape, twine, and scissors hang off pegs on their own. If you’ve got a workshop, use a pegboard to keep your hand tools organized.
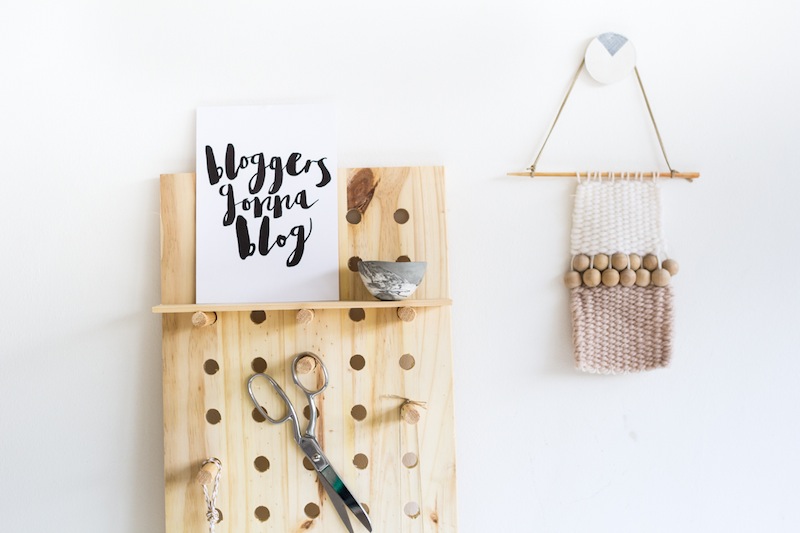
 Chelsea from Lovely Indeed has a nice tutorial for a workspace pegboard.
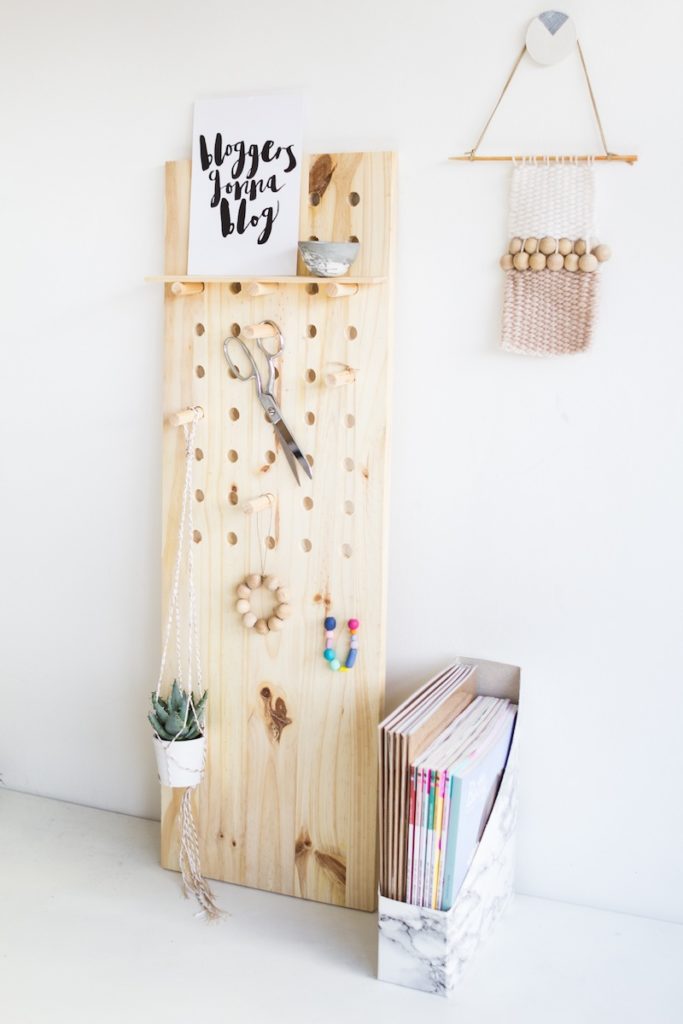
Even a small pegboard can work wonders in creating a vertical storage solution for things you use regularly. And you’ll feel super accomplished with your very own handmade pegboard up on the wall.